What you need
Camera with manual mode
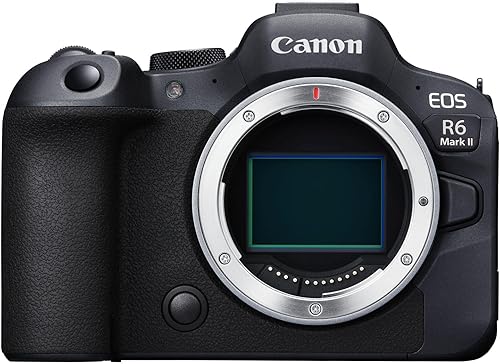
Any mirrorless or DSLR with manual exposure control. Must support ISO 800+ and exposures of 5-30 seconds. Most cameras from 2012 onwards qualify.
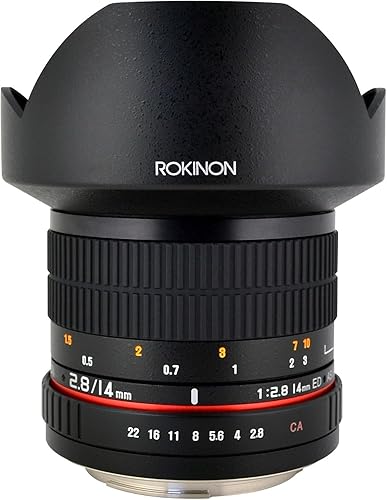
Fast wide-angle lens
f/2.8 or faster. f/1.8 or f/2.0 on a 24mm equivalent is ideal. Kit zoom lenses (f/3.5-5.6) can work but require higher ISO and longer exposures.
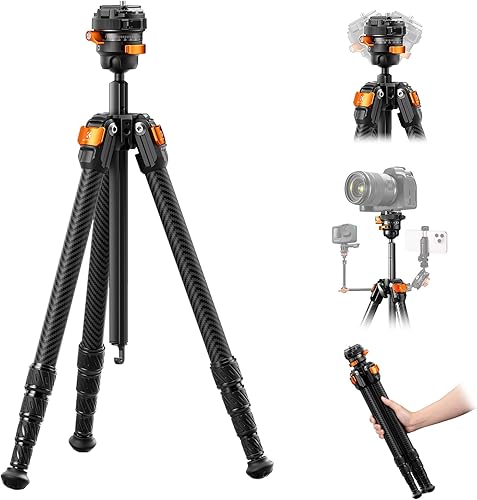
Sturdy tripod
Essential. Exposures of 5-25 seconds mean any movement ruins the frame. A lightweight travel tripod is fine in calm conditions; heavier for windy locations.
Remote shutter release
Optional but useful for avoiding camera shake at the start of each exposure. A two-second self-timer achieves the same effect. The AODELAN wireless remote works well with Nikon Z-series bodies.
Spare batteries
Cold temperatures drain batteries fast. Carry at least one spare kept warm in an inner pocket. Mirrorless cameras are particularly power-hungry in the cold. Canon LP-E17 users: a 3-pack with charger keeps you running all night.
Memory cards
Shoot RAW. RAW files are 3-5x larger than JPEGs. Bring a card with at least 64GB capacity for a full night.
Recommended gear


Starting camera settings
Aurora changes quickly. Rather than hunting for a single "correct" exposure, start from a known point and adjust based on what you see on the preview screen. These settings work for moderate activity (Kp 5-6). Camera-specific settings for Sony, Canon, Nikon, and Fujifilm are in the aurora photography settings guide.
ISO
1600
Range: 800-3200
Aperture
f/2.8
Or widest available
Shutter
10s
Range: 5-25s
If the image is underexposed: raise ISO first (to 3200), then lengthen exposure (to 20s). Avoid going beyond ISO 6400 on most cameras as noise becomes difficult to manage.
If the aurora is blurred by movement: shorten the shutter speed to 3-5 seconds and raise ISO to compensate. Active displays move faster than you expect.
For strong activity (Kp 7+): drop the exposure time. Bright aurora at 25 seconds will blow out completely. Try 3-8 seconds at ISO 800-1600.
Focusing in the dark
This is where most aurora photos go wrong. Autofocus will hunt or lock onto the wrong distance. Set focus to manual before it gets dark and follow these steps:
- 1 Switch the lens to manual focus (MF) using the physical switch on the barrel.
- 2 Enable live view and zoom to 10x magnification on a bright star - or a distant light source at least 1 km away.
- 3 Rotate the focus ring slowly until the star resolves to the smallest, sharpest point you can achieve.
- 4 Do not touch the focus ring again. Use a strip of tape to secure it if necessary.
- 5 Check the first few frames by zooming into stars in the preview. If they are soft, refocus before the aurora starts.
This page contains affiliate links to tour operators and products on Amazon. If you book or buy through one of these links, I may earn a small commission at no extra cost to you. This doesn't influence which operators or products are featured, or what the forecast shows.
Composition
Aurora photographs with a strong foreground are more interesting than sky-only shots. A lake reflecting the colours, a coastline, a recognisable landmark, or interesting terrain in silhouette gives the image scale and context.
Point the camera to the north - usually where aurora is most active and brightest at UK latitudes. During a strong storm the lights can be overhead or even to the south, but start north. Leave roughly 30-40% of the frame for foreground.
During active periods, capture a series of frames. Single-shot aurora photography misses the movement and structure that give the subject its character. Shooting at five-second intervals during a bright display gives you material to choose from and the option to make a short time-lapse.
For the best foregrounds - Jökulsárlón, Lofoten, Svalbard - a guided aurora tour gets you to the right location at the right time. Browse tours across Norway, Iceland, and Finland on Klook. For experiences focused specifically on photography access and guided positions, Tiqets lists additional operator options.