Before you leave
✓ Check the current Kp index and 7-day outlook on this site.
✓ Check cloud cover for your specific dark sky location - not just the town weather. Use ClearOutside or Meteoblue for per-location sky forecasts.
✓ Check moon phase - a full moon raises background brightness; a new moon is ideal.
✓ Identify your dark sky location in advance and check the road access.
✓ Tell someone where you are going if it is a remote site.
✓ Charge your phone and camera batteries - cold reduces battery life significantly.
✓ Download an offline map of the area if you are going somewhere remote.
✓ Set a Kp alert on this site so you know when conditions improve in real time.
What to wear
Standing still in the cold for 90 minutes is a different experience from walking around. Dress for stationary cold, not active cold. See the full clothing guide for detailed layering advice.
Base layer
Thermal merino wool or synthetic fabric. Not cotton - cotton absorbs moisture and loses insulation when damp, which happens faster than you expect in cold conditions.
Mid layer
Fleece or down jacket. Down is warmer per gram but loses insulation if it gets wet. Fleece maintains warmth when damp and dries faster.
Outer layer
Waterproof, windproof shell. Weather in aurora-season locations changes quickly. Even a light rain shower can end your watch if you have no outer layer.
Extremities
Warm gloves (bring a spare pair), a hat covering your ears, and warm waterproof boots. Standing still at 0°C for 90 minutes feels significantly colder than walking around.
What to bring
✓ Red-light torch - preserves night vision. A white phone screen undoes 20 minutes of dark adaptation instantly.
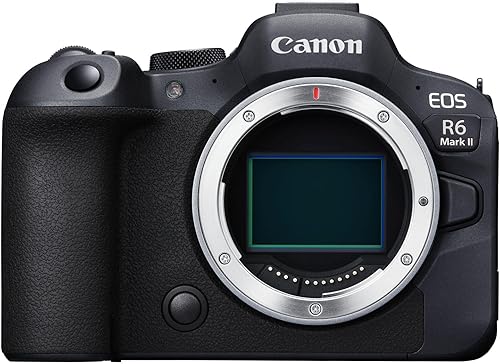
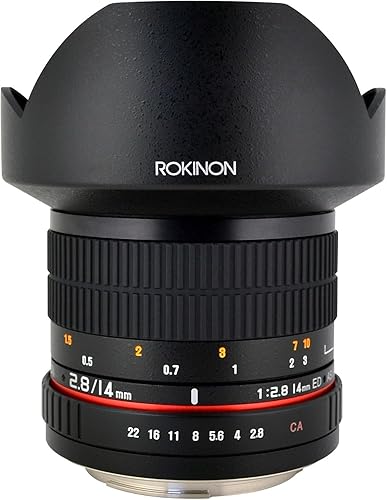
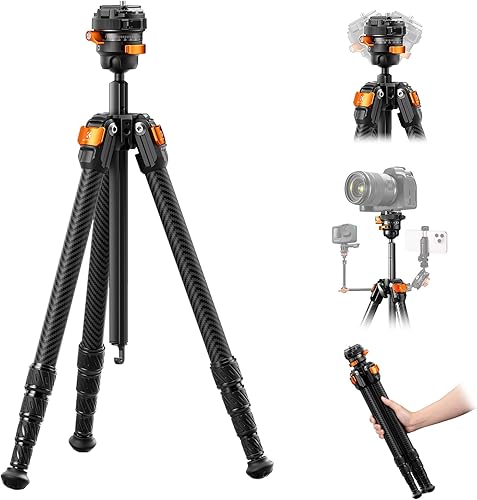
✓ Camera and tripod if you want to photograph. Start with manual mode, ISO 1600-3200, f/2.8, and a 10-20 second exposure.
✓ Hot drink in a thermos flask.
✓ Power bank for your phone.
✓ Spare camera batteries kept inside a jacket pocket to maintain temperature.
✓ Waterproof cover for your camera if there is any chance of rain or snow.
✓ Something to sit or stand on if you are planning a watch longer than an hour.
On location
✓ Allow 20-30 minutes for eyes to dark-adapt before deciding whether anything is visible.
✓ Face north and check the horizon before looking overhead - aurora usually starts as a low arc.
✓ If unsure whether you can see anything, take a 10-second phone photo facing north. It will show green if aurora is present.
✓ Stay at least 90 minutes if the Kp is at your threshold - substorms can begin at any point.
✓ If nothing is happening, check the current Kp on the live forecast rather than guessing.
✓ Do not look at white-light screens during your watch. Use red-light mode or maximum brightness reduction.
What not to do
✓ Do not drive to a location you have never visited before in darkness - scout it in daylight first.
✓ Do not stand in a remote field without telling anyone where you are.
✓ Do not expect every Kp 5 night to be spectacular - cloud cover is the most common reason for disappointment.
✓ Do not check for aurora from the middle of a town - a 20-minute drive changes the experience significantly.
✓ Do not give up after 30 minutes - the best phase often comes in the second hour.
If you would rather not handle the logistics yourself
A guided tour removes several items from this checklist - transport, dark sky location, and a wake-up call if aurora fires at 3 am. Browse aurora tours across Norway, Iceland, and Finland on Klook - most operators include flexible rebooking policies, which matters on weather-dependent trips. For self-drive trips, compare hire prices on GetRentacar and book the vehicle before the trip fills in.