ISO
ISO controls your sensor's sensitivity to light. For aurora photography, start at ISO 1600. That is enough sensitivity to capture moderate activity without excessive noise on most modern cameras.
If the display is faint and the image looks dark at ISO 1600, raise to ISO 3200. On a full-frame body the difference in noise between ISO 1600 and ISO 3200 is manageable. On APS-C, push to ISO 3200 if needed but be aware that noise becomes harder to control above that.
If the aurora is bright enough to be clearly visible to the naked eye - Kp 7+ - drop to ISO 400-800. Bright aurora at high ISO will clip the highlights and lose all colour and detail.
A general rule: if you can see the lights clearly with the naked eye, lower your ISO. If you cannot see them at all, raise it.
Shutter speed
Aurora moves. During a quiet arc, 15 seconds is fine. During an active display with fast-moving rays, 3-5 seconds is necessary to keep the structure sharp.
Start at 10 seconds and look at the result. If the aurora shows as a soft blur with no clear structure, shorten the exposure. If it is correctly exposed but soft, shorten the exposure and raise ISO.
The 500 rule gives a rough maximum shutter speed before stars trail: divide 500 by your focal length (in full-frame equivalent). A 14mm lens gives you roughly 35 seconds before stars start to trail. A 24mm lens gives about 20 seconds. In practice, active aurora rarely needs exposures that long.
Aperture
Use the widest aperture your lens offers. f/2.8 is the practical minimum for aurora work. f/1.8 or f/1.4 collects more light and lets you use lower ISO or shorter exposures.
The trade-off at wide apertures is corner sharpness - some lenses produce soft corners or coma (star blooming) at f/1.4 or f/1.8. Stop down one-third to one-half a stop if stars in the corners look distorted. Most lenses are sharper at f/2.0 than at f/1.4 while still collecting much more light than f/2.8.
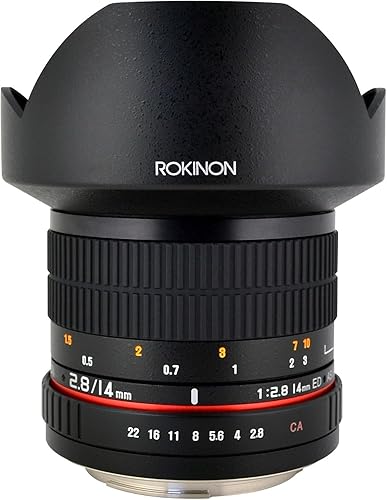
Wide aperture lenses

White balance
Set a fixed white balance, not auto. Auto white balance shifts between frames, which makes a consistent series of images impossible to process.
A colour temperature of 3500-4500K preserves green aurora tones. Tungsten (around 3200K) tends to push greens toward yellow. Daylight (5500K) pushes them toward cyan. Experiment once and stick with the setting for the night.
If you shoot RAW - which you should - white balance can be adjusted in post with no quality loss. The in-camera setting is just a preview reference.
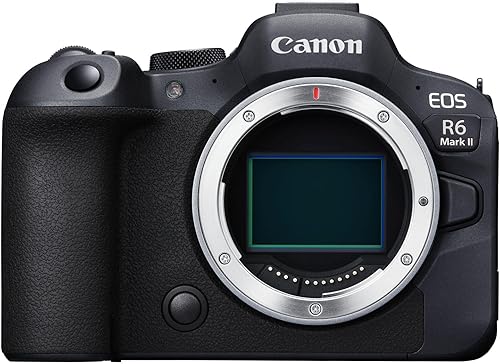
Shoot RAW
RAW files retain all the sensor data. JPEG files are processed and compressed in-camera with no opportunity to recover information that was discarded.
With RAW, you can adjust white balance, exposure, and noise reduction after the fact. You can pull back overexposed highlights and lift shadow detail. Post-processing software - Lightroom, Capture One, Darktable - handles aurora images well.
The trade-off is file size. RAW files are 3-5x larger than JPEGs. Bring at least a 64GB card for a full night's shooting.
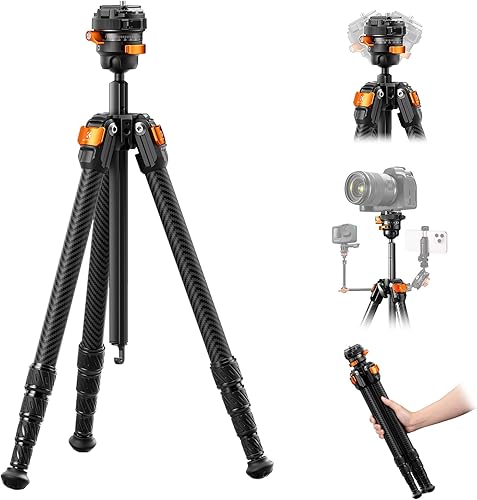
Stability kit
Long exposures require a solid platform. A carbon fibre tripod stays rigid in wind and does not conduct cold the way aluminium does. A wireless remote removes the vibration from pressing the shutter button directly.