The kit list
Camera with manual mode
Any mirrorless or DSLR made after 2015 qualifies. The sensor size matters less than you might think - a beginner APS-C body with the right lens will produce good results.
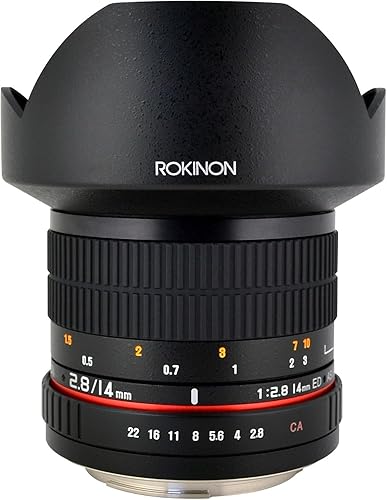
A fast prime lens
This matters more than the camera body. f/2.8 or faster. A 14-24mm focal length (full-frame equivalent). An f/3.5 kit zoom is the wrong tool here.
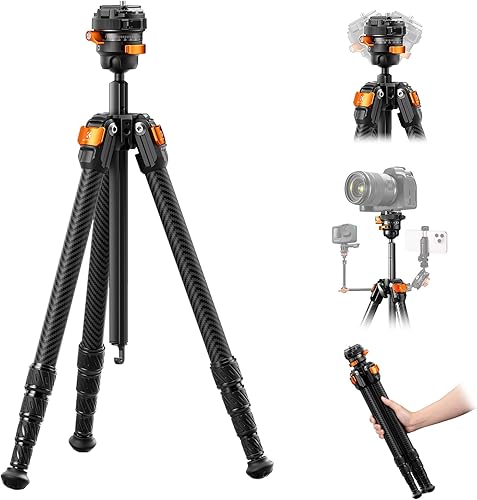
A tripod
Every exposure is 3-20 seconds long. No tripod means no usable images.
Spare battery
Cold drains batteries fast. Carry a second one in an inside pocket.
64GB memory card
RAW files are large. One card is enough for a night.
Manual mode basics
Aurora photography uses three settings: ISO, aperture, and shutter speed. You control all three.
Start here: ISO 1600, aperture at f/2.8 (or wider if your lens allows), shutter speed 10 seconds. Take a shot. If it is too dark, raise ISO to 3200 or increase shutter speed to 15 seconds. If the aurora is bright and the image looks washed out, lower ISO or shorten the shutter speed.
That is the whole loop. Check the image on screen, adjust one thing at a time, shoot again. There is no single correct setting - aurora brightness varies throughout the night.
See the full settings guide at Best Camera Settings for Aurora Photography.
Camera recommendations for beginners
A beginner camera body does not need to be expensive. What matters is ISO performance up to 3200, a manual mode, and a lens mount with fast prime options. These are solid choices at the entry level.

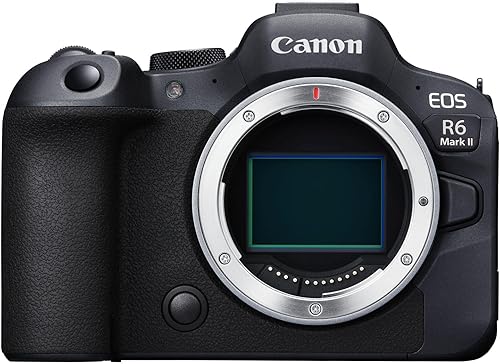
The Z 50II is the better budget option. The R6 Mark II is a step up in low-light performance and weather sealing.
Start with a fast prime
The lens you use matters more than the camera body for aurora photography. A kit zoom at f/3.5-5.6 needs double the exposure time or double the ISO compared to an f/1.8 prime. That difference is the gap between a noisy blurry frame and a clean sharp one.
A 14mm f/2.8 or a 16mm f/1.4 on an APS-C sensor is the practical starting point. Both are wide enough to capture the full sky and fast enough to work at ISO 1600.

What else to bring
Two accessories matter for a first aurora outing. Everything else is optional.
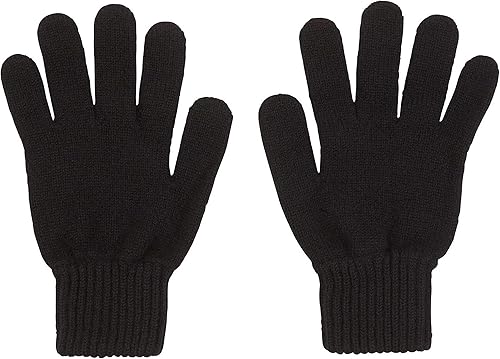
A pair of warm mittens that allow you to adjust camera controls is more important than any photography-specific accessory. Standing still for 90 minutes in the cold is uncomfortable without them. A head torch with a red mode lets you navigate in the dark without destroying your night vision - recovery takes around 20 minutes once lost.
This page contains affiliate links to tour operators and products on Amazon. If you book or buy through one of these links, I may earn a small commission at no extra cost to you. This doesn't influence which operators or products are featured, or what the forecast shows.
For a first aurora shoot in a high-latitude destination, a guided tour handles location and timing - browse aurora photography tours across Norway, Iceland, and Finland on Klook to see what operators include dark sky access and guiding alongside the aurora watch.